How to Compress Images Without Losing Quality
In the digital world, image quality and file size are often viewed as a trade-off: you can have a crisp, stunning image, or you can have a fast-loading, lightweight file—but rarely both. Or so the myth goes.
The truth is that image files are often bloated with unnecessary data. By removing this digital "fluff" and optimizing how the image data is stored, you can significantly reduce file size without altering a single pixel of the visual experience. This process is the art of lossless compression.
This chapter will guide you through the mechanics, formats, and tools required to shrink your images while keeping them pixel-perfect.
Try Linraw doImage FreeUnderstanding the Core Concepts
Before diving into the tools, it is crucial to distinguish between the two main types of compression.
Lossy Compression: This method deletes data permanently to save space. It approximates the original image, discarding details the human eye might miss. While effective for massive size reduction (often 70-90%), it strictly technically lowers quality.
Examples: JPEG.
Lossless Compression: This method rewrites the data more efficiently without deleting any visual information. When the file is opened, it is reconstructed to be bit-for-bit identical to the original. This is our focus for "quality preservation."
Examples: PNG, TIFF, WebP (Lossless mode).
Key Takeaway: If your priority is archiving, printing, or medical imaging, you must use Lossless. If you are optimizing for the web, you can often use "visually lossless" compression (a high-quality lossy method) where the eye cannot see the difference.
Choosing the Right Format
Not all image formats are created equal. Choosing the right container is the first step to lossless success.
PNG(Lossless): It is best used for logos, graphics, screenshots, transparent images. It's the gold standard for lossless web graphics.
TIFF(Lossless): It is best used for print, photography archiving. It has very large file sizes; rarely used for the web.
WebP(Hybrid): It is best used for modern web usage. It supports both lossy and lossless. Often 26% smaller than PNGs.
JPEG(Lossy): It is best for photography. Avoid strict lossless requirements. Every save degrades quality (generation loss).
The Toolkit: How to Compress
Depending on your workflow, you can choose between desktop applications, command-line tools, or online services.
Desktop Applications (Drag & Drop)
These are best for batch processing folders of images without uploading them to the cloud.
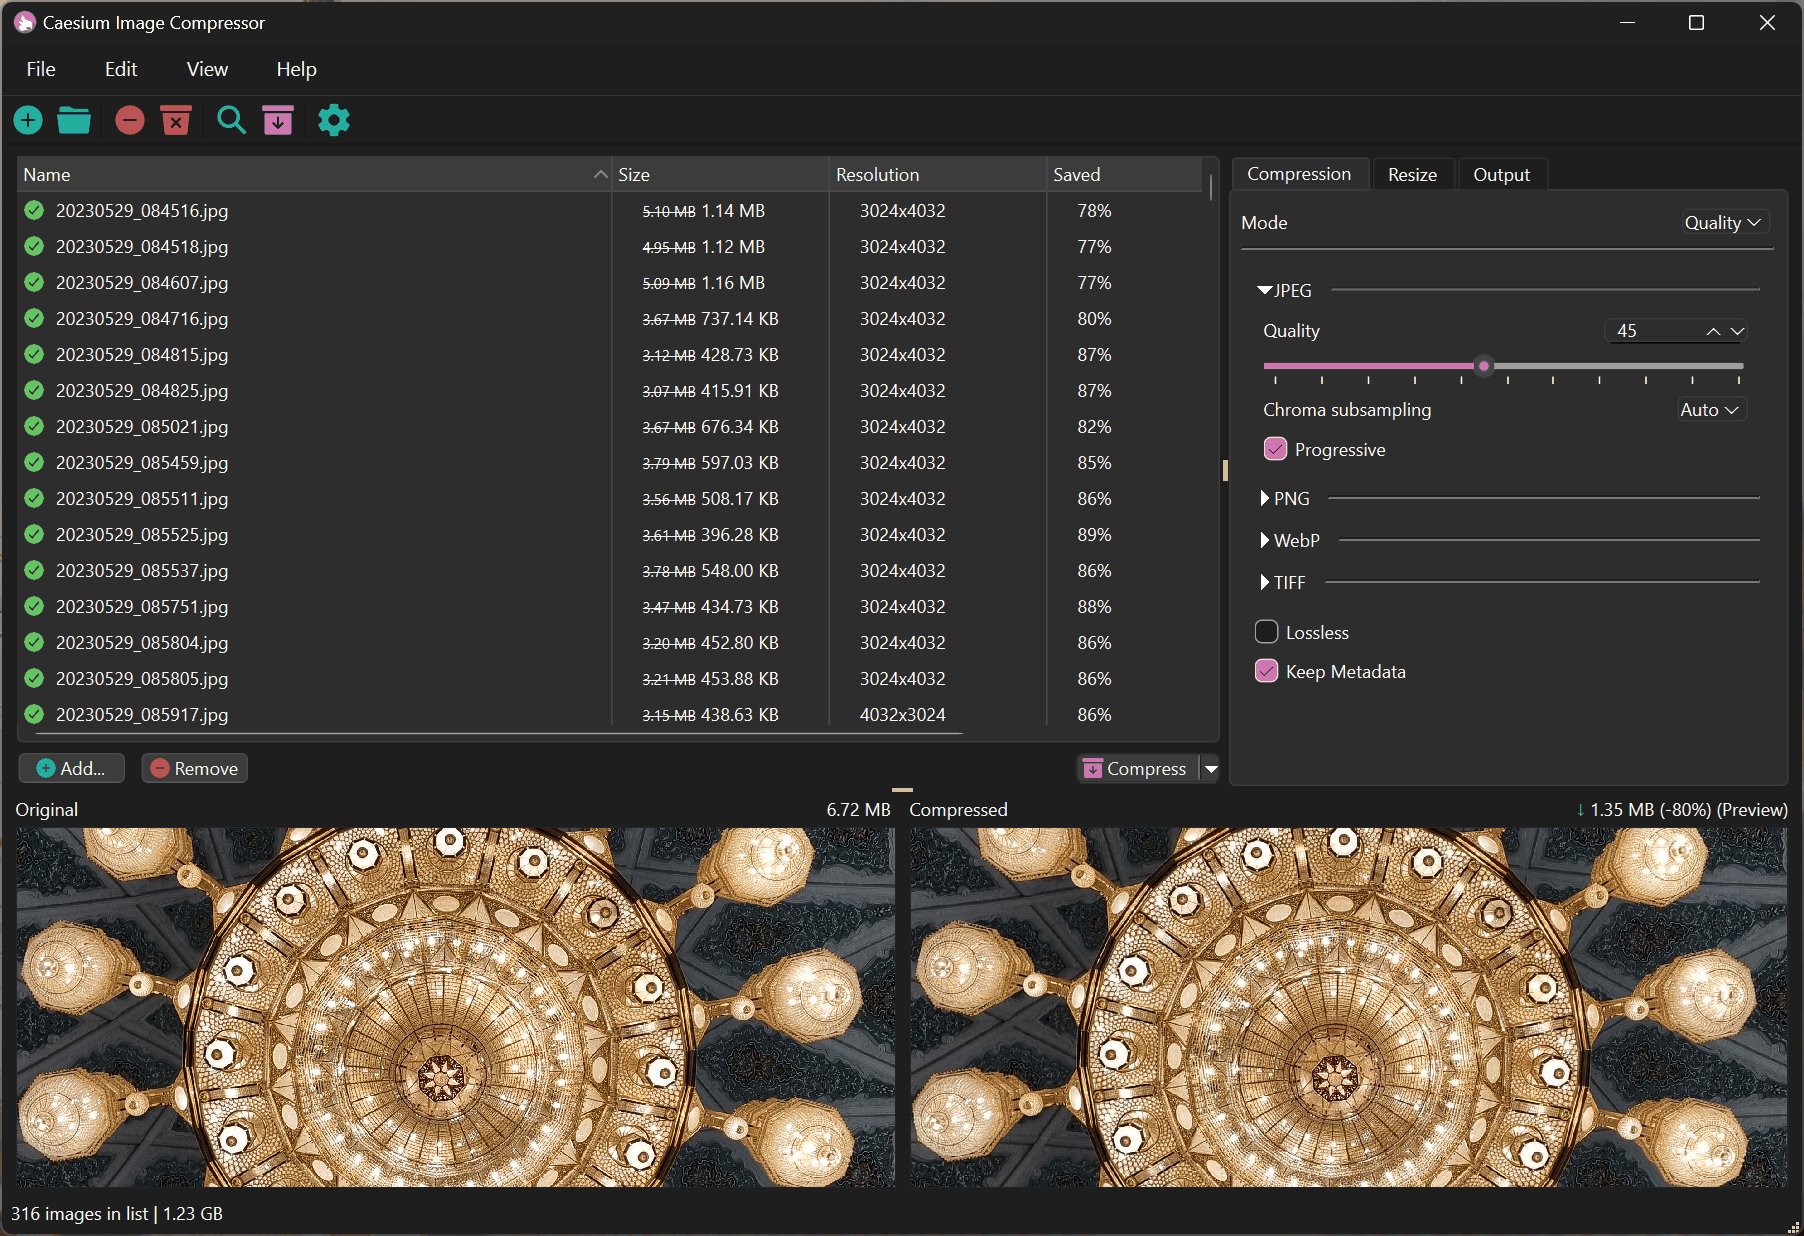
Caesium (Windows): Offers a side-by-side preview so you can verify that no quality is being lost before you hit save.
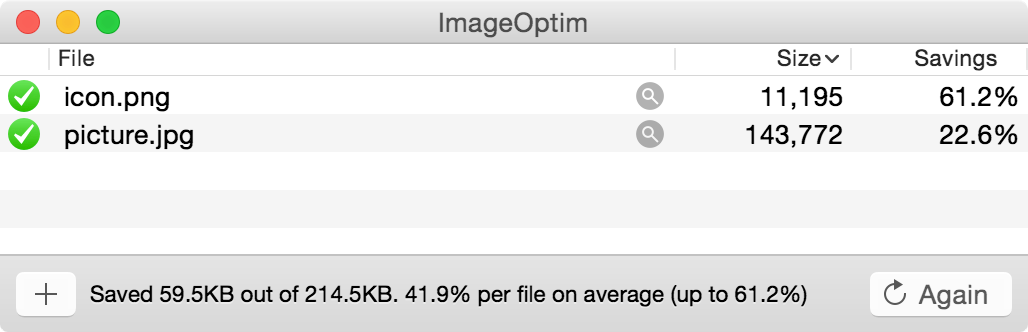
ImageOptim (macOS): A legendary open-source tool that strips metadata and runs several compression algorithms seamlessly. It is essentially the standard for Mac users.
The Modern Web Tools
Perfect for quick, one-off compressions or testing.
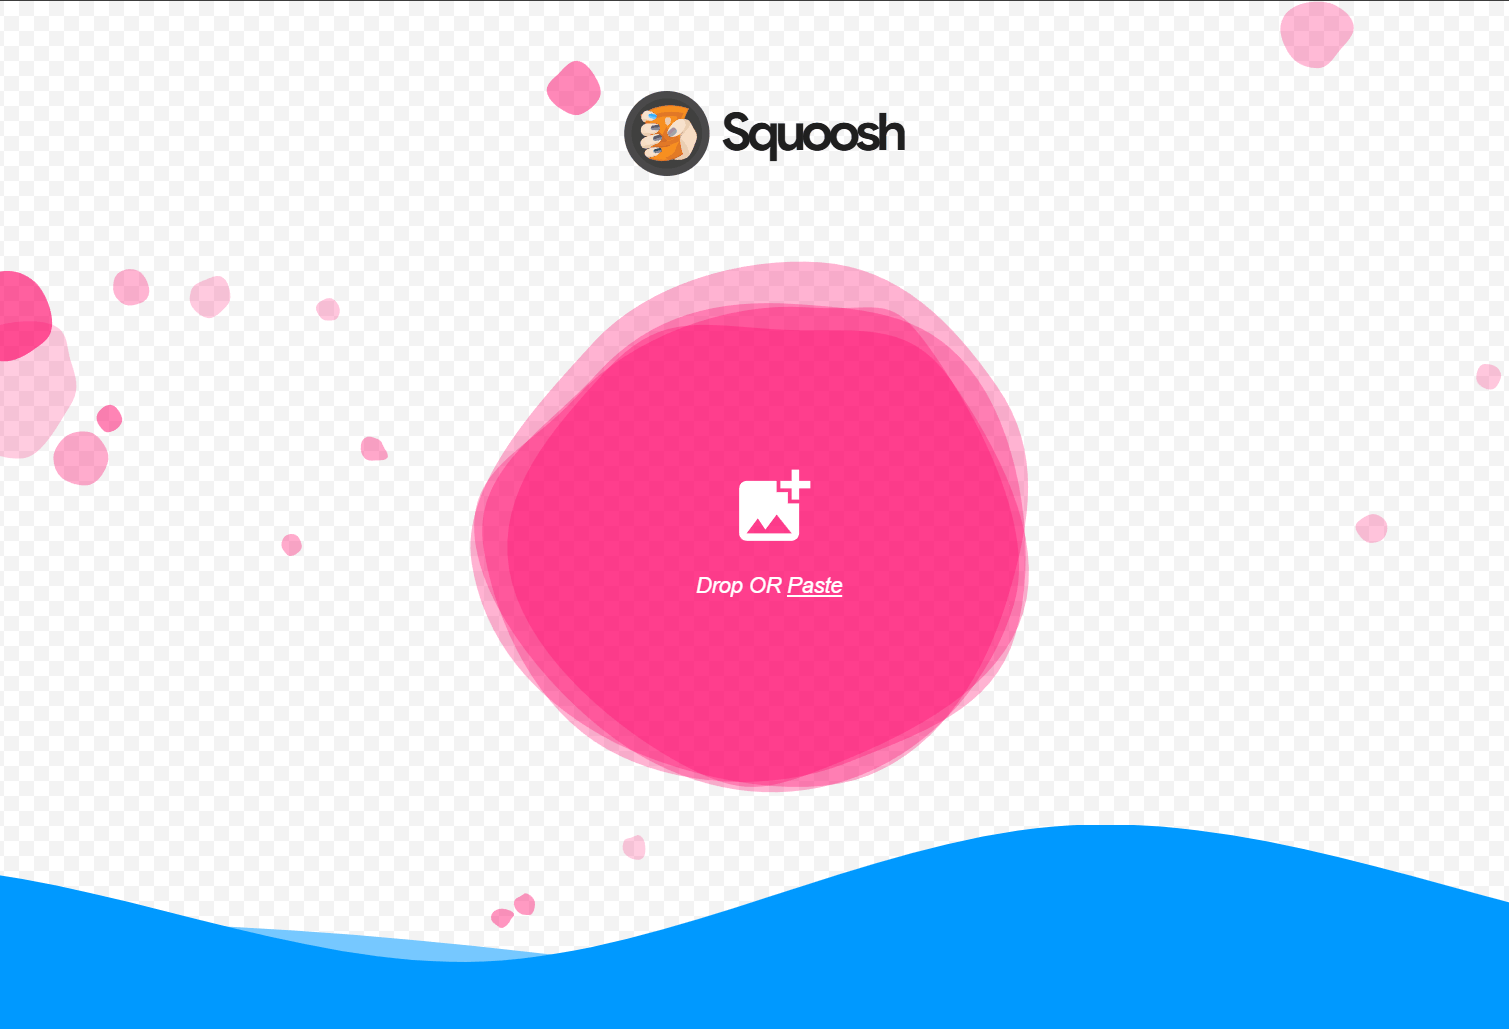
Squoosh.app: Created by Google Chrome Labs. It allows you to drag an image in and use a slider to compare "Before" and "After."
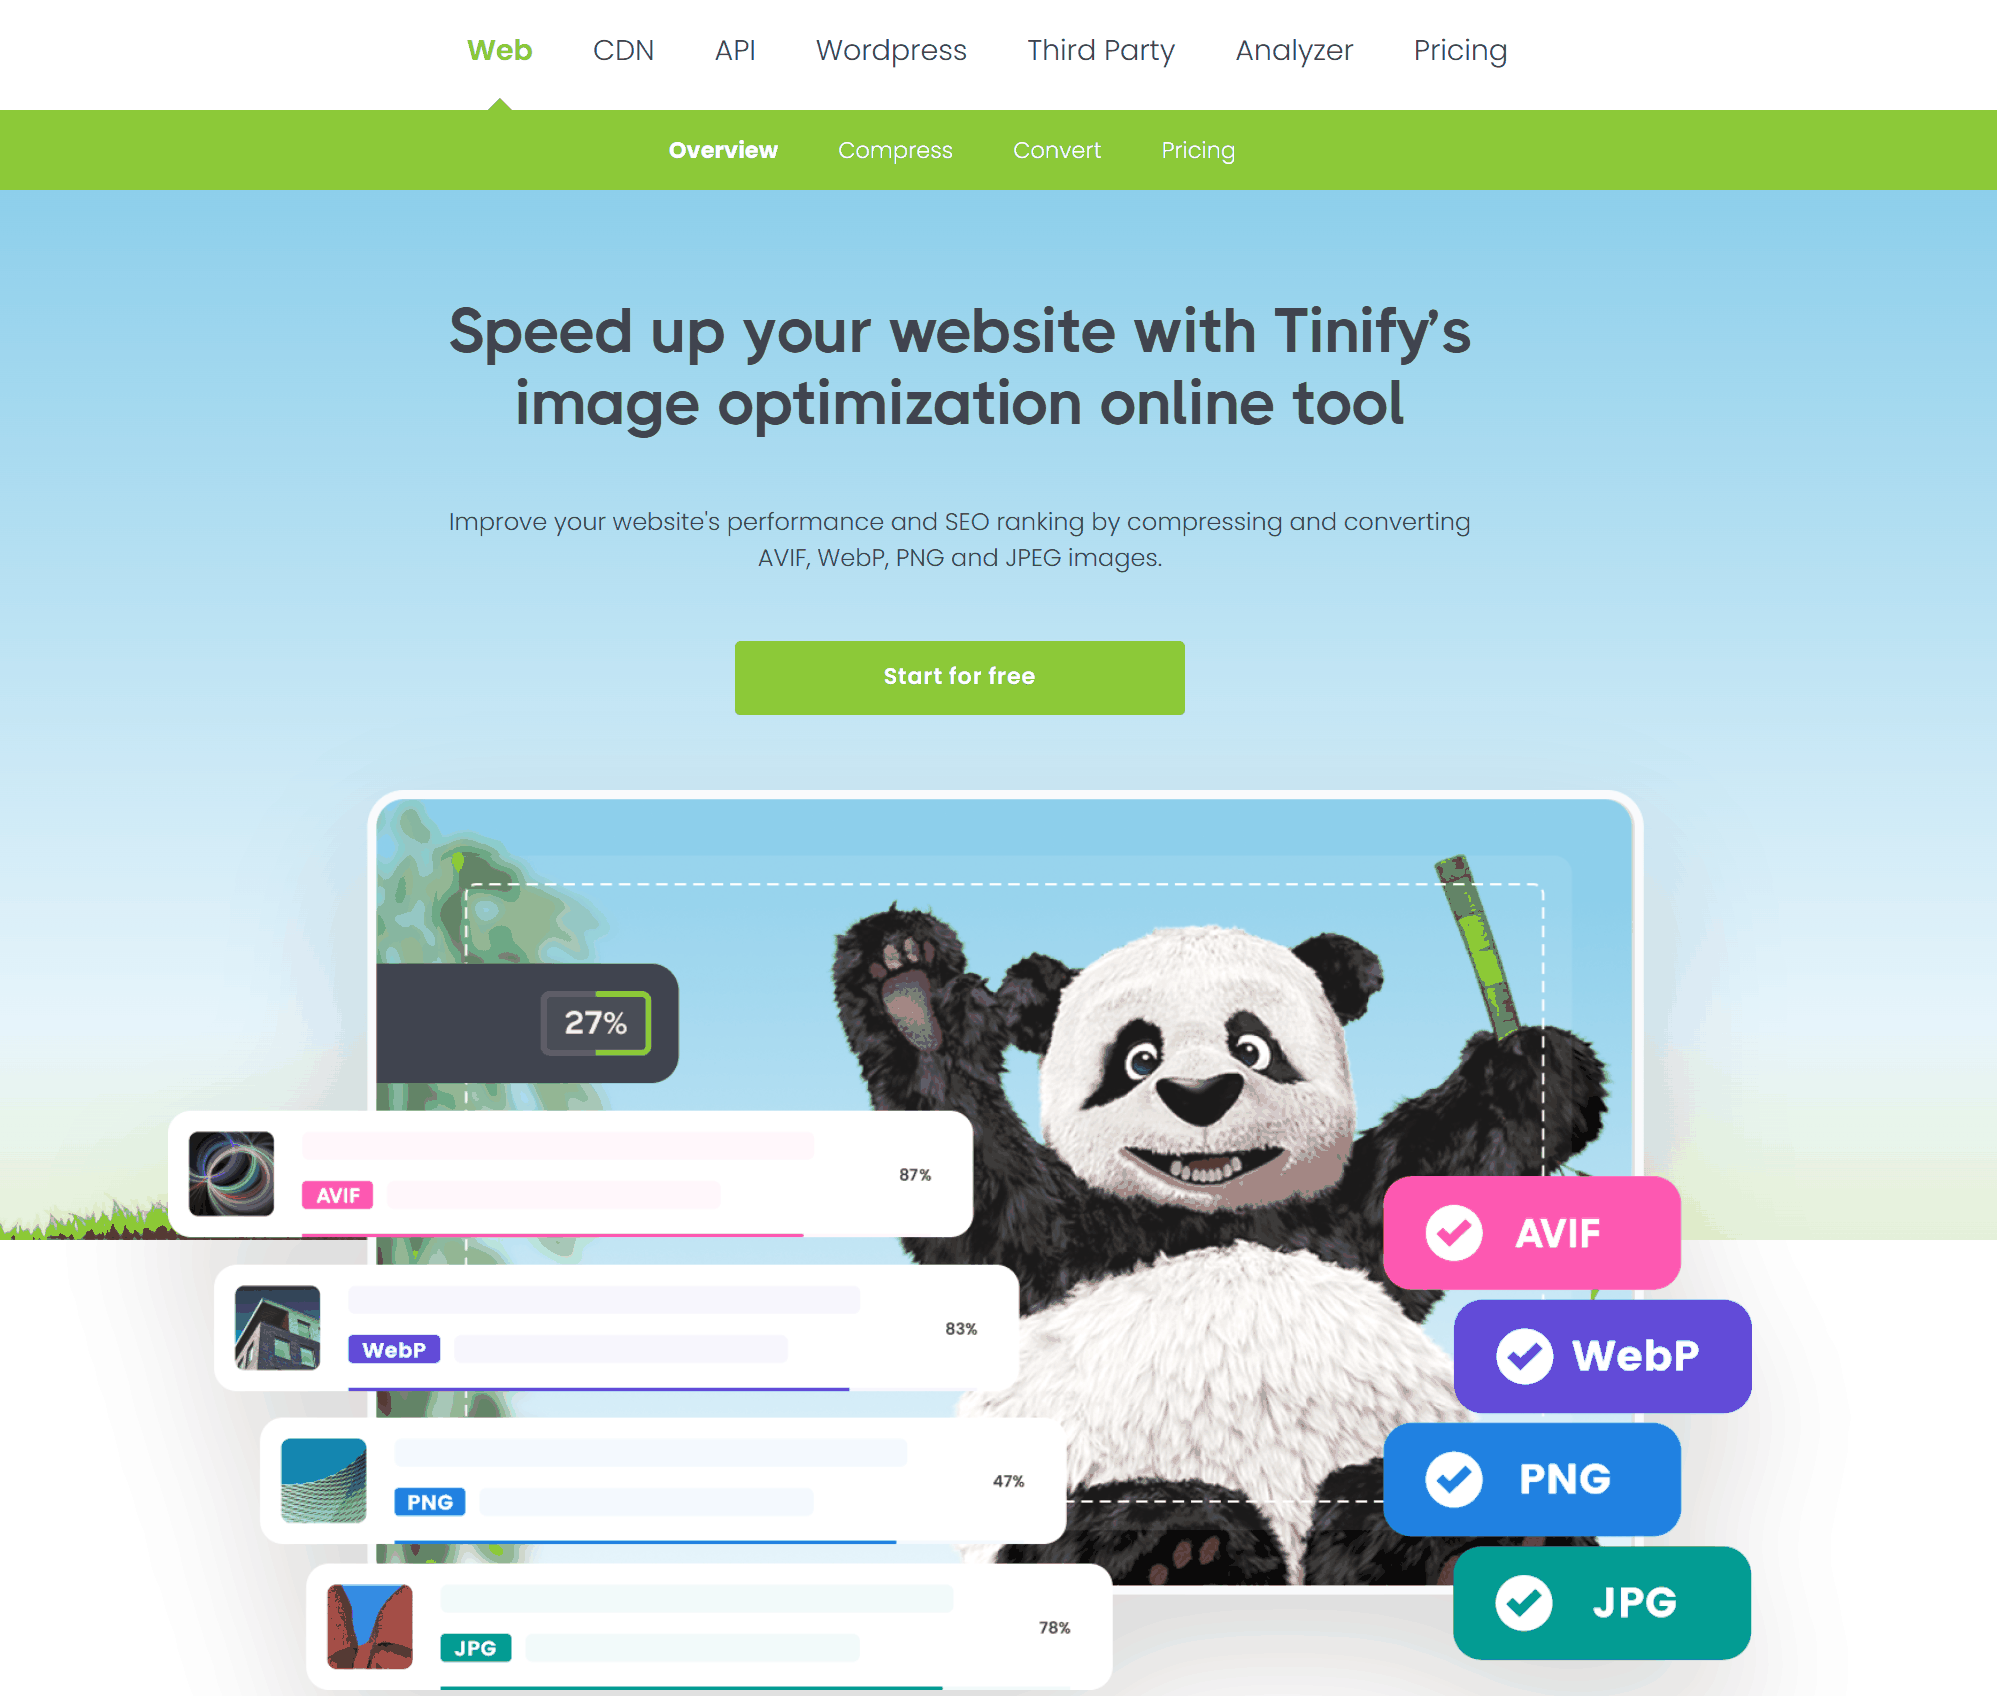
TinyPNG / TinyJPG: While famous for "smart lossy" compression (which reduces colors slightly), they are excellent for web optimization where visual fidelity is maintained even if technical data is lost.
Command Line Tools
If you are building a website or app, you want to automate this.
ImageMagick: The Swiss Army knife of image manipulation.
>magick input.png -strip -define png:compression-level=9 output.png
cwebp: The official Google tool for converting images to WebP format.
>cwebp -lossless input.png -o output.webp
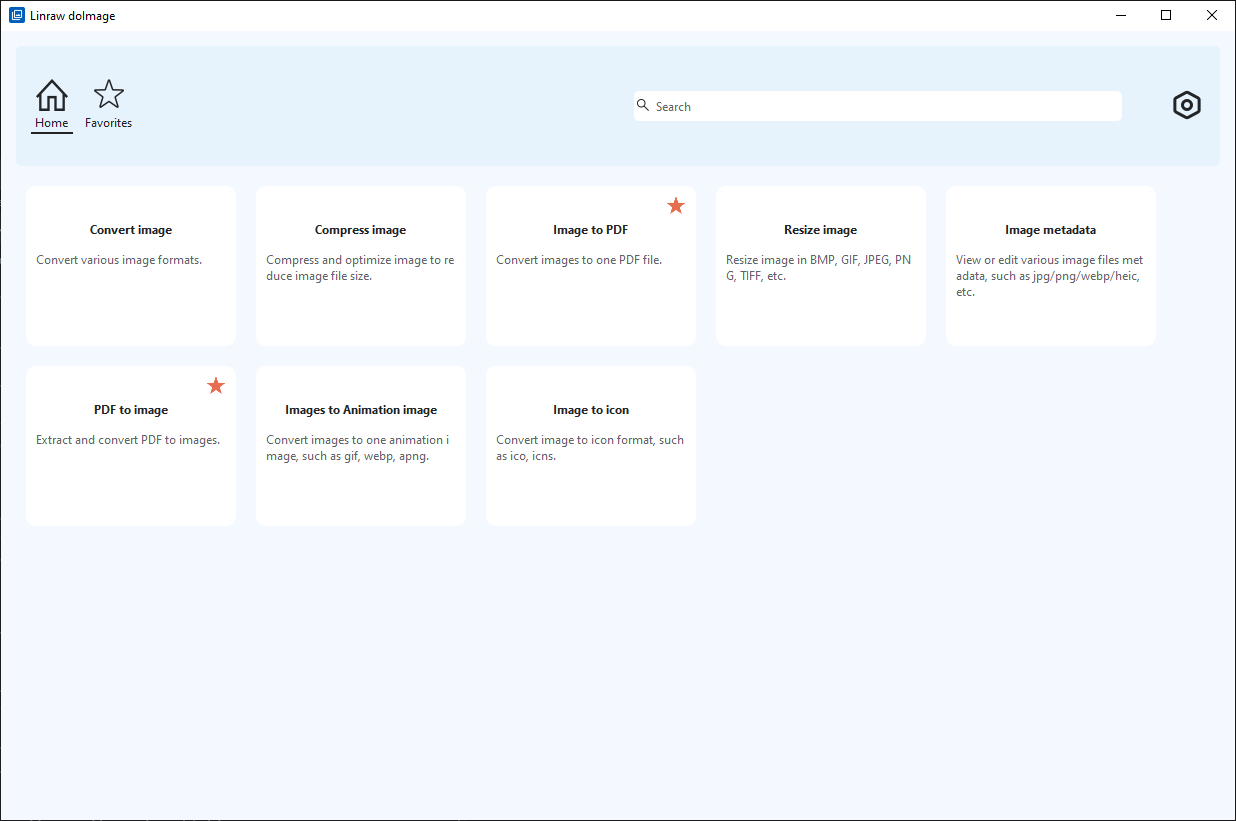
Linraw doImage - Best utility for compressing image without losing quality
Linraw doImage is a robust software suite featuring various image utilities, including a powerful tool for image compression. Designed for ease of use, Linraw doImage allows you to compress files in just a few simple steps.
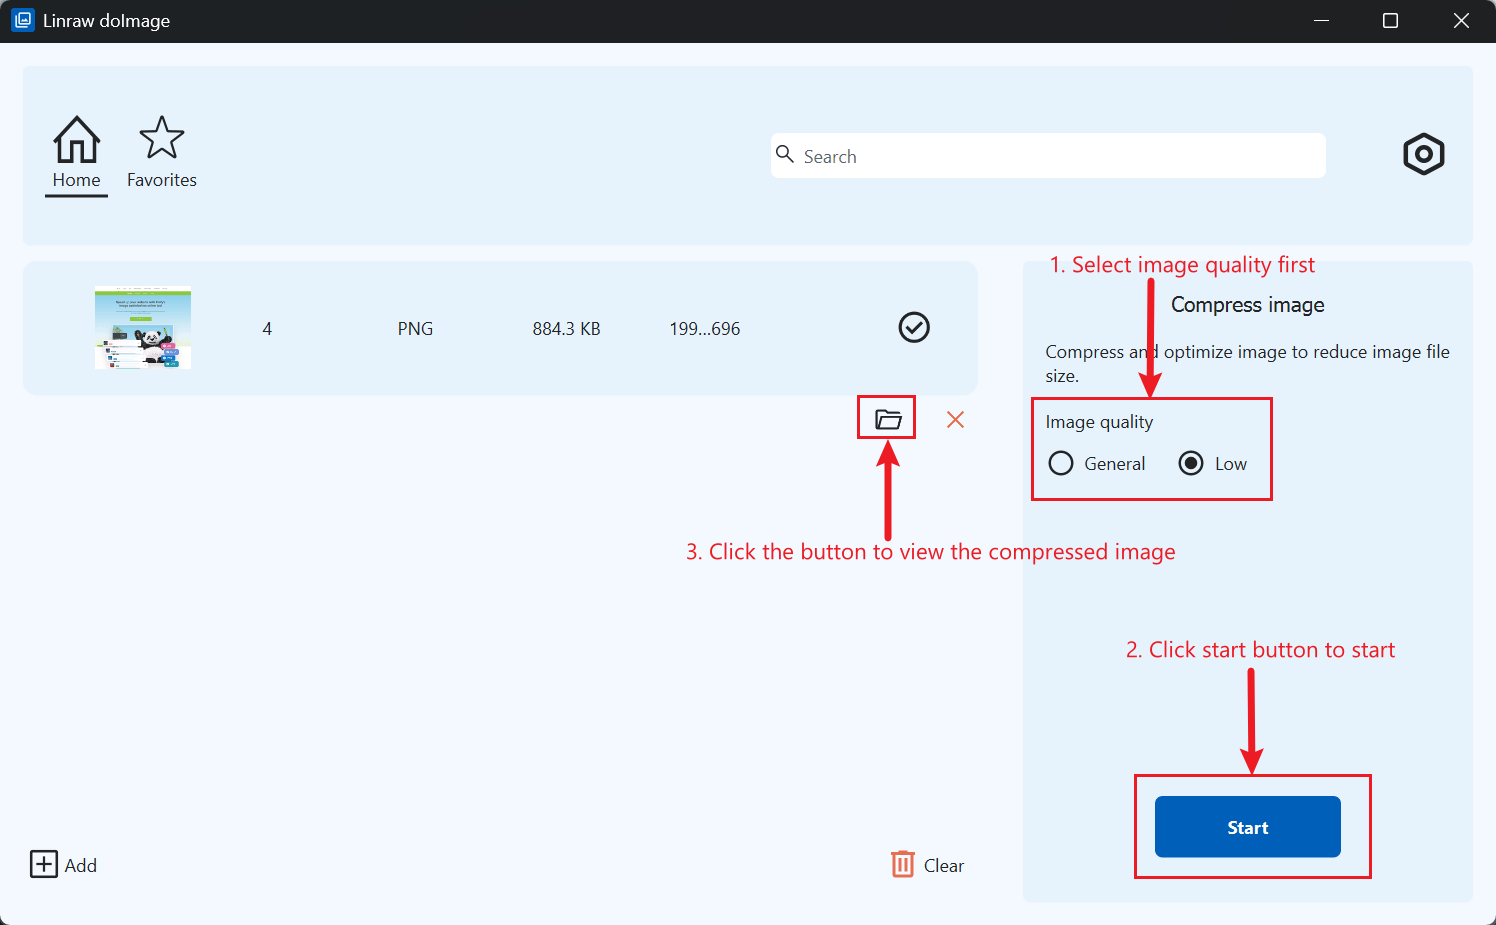
- Install and launch Linraw doImage.
- Import your images. Drag and drop your files directly into the software window, or click the Add button to browse your computer.
- Begin compression. Click the Start button to initiate the process.
- View your files. Once the process is complete, click the output directory link to view your newly compressed images.
Best Practices Checklist
To ensure you never accidentally ruin an image:
- Keep a Master Copy: Always compress a copy of your image, never the original source file (RAW or PSD).
- Avoid Re-saving JPEGs: Every time you open a JPEG, make an edit, and save it again, you lose quality. Convert to PNG or TIFF for editing, then compress to JPEG only for the final export.
- Strip Metadata for Web, Keep for Archive: If you are putting a photo on a website, remove the EXIF data to save space. If you are archiving family photos, keep the EXIF data so you know when and where it was taken.
Conclusion - Choosing the Right Tool for You
When deciding on the best tool to compress images without losing quality, it's important to consider your specific needs:
- For quick, easy compression: TinyPNG is ideal if you're looking for simplicity and speed.
- For macOS users: ImageOptim is a powerful option if you need lossless compression with an open-source, local solution.
- For bulk image optimization: Linraw doImageLinraw doImage is particularly efficient when dealing with a large number of images.
By understanding the differences in features and capabilities, you can choose the tool that best fits your project, ensuring your images are optimized without compromising quality.
